If you enjoy cycling, it’s crucial to prioritize your safety on the road. bike lights are an essential accessory that can significantly enhance your visibility, especially during low-light conditions. Whether you’re a seasoned cyclist or a beginner, this comprehensive guide to bike lights will provide you with valuable insights on the different types of lights available, the importance of choosing the right brightness level, and tips for properly positioning your lights. Stay tuned to learn how to illuminate your way and stay safe while embracing the thrill of biking.
Importance of Bike Lights
Bike lights play a crucial role in ensuring your safety while cycling. They not only increase your visibility to other road users but also help prevent accidents. Moreover, having bike lights is often a legal requirement in many areas. In this comprehensive guide, we will delve into the different types of bike lights, how to choose the right ones, and understanding the various settings and modes. So, let’s shed some light on the importance of bike lights and explore everything you need to know.
Increase Visibility
One of the primary reasons for using bike lights is to enhance your visibility on the road. Whether you’re cycling in the early morning hours, at dusk, or during the night, bike lights make you easily noticeable to motorists, pedestrians, and other cyclists. By illuminating yourself and your surroundings, you significantly reduce the chances of being involved in an accident. Remember, it’s not just about seeing; it’s also about being seen.
Prevent Accidents
Apart from increasing your visibility, bike lights also help prevent accidents. When you have proper lighting installed on your bicycle, motorists and other road users can anticipate your presence and take appropriate actions to avoid potential collisions. By alerting others to your presence, you greatly reduce the risk of accidents, especially in low-light conditions or areas with poor visibility.
Legal Requirement
In many regions, having bike lights is a legal requirement. Local laws and regulations often stipulate that cyclists must have functioning lights when riding during low-light conditions. Failure to comply with these regulations can result in penalties, fines, or even legal consequences. Therefore, it is essential to familiarize yourself with the specific requirements in your area and ensure that your bike lights meet the necessary standards.
Types of Bike Lights
Now that we understand the importance of bike lights, let’s explore the different types available on the market. Depending on your needs, preferences, and the specific riding conditions you encounter, you may want to consider one or more of the following:
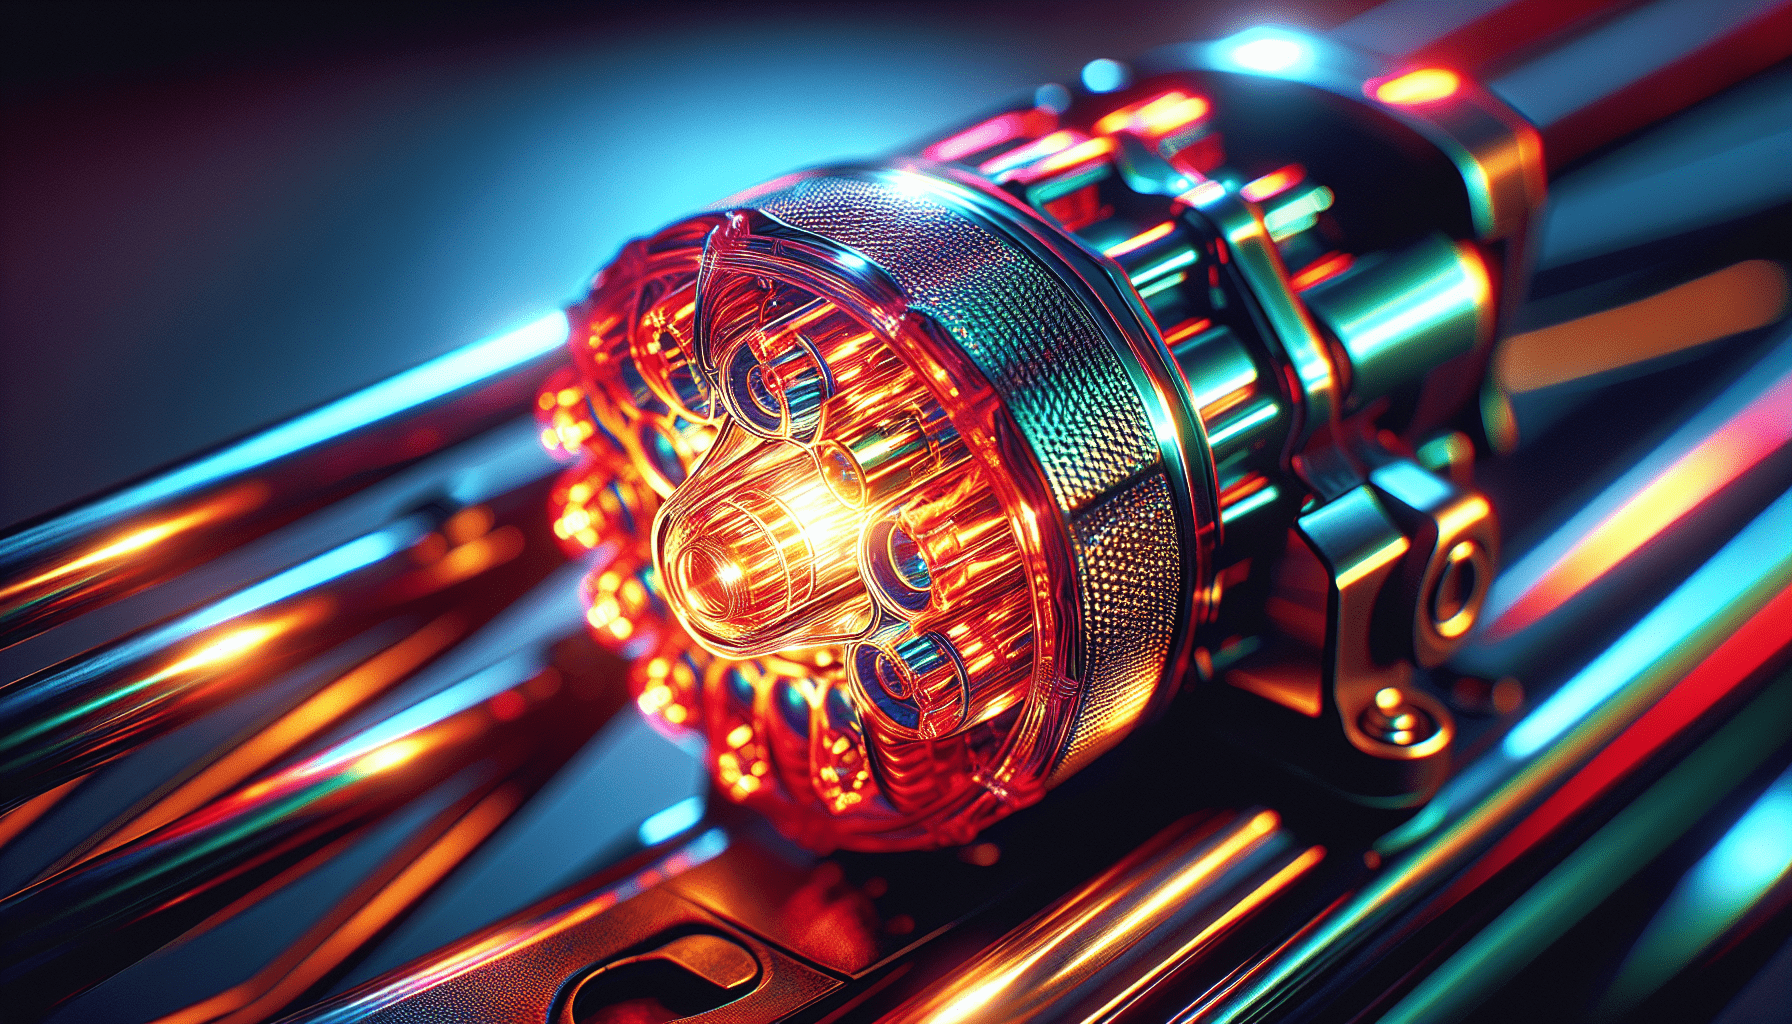
Headlights
Headlights are the primary source of illumination for your bike. They are typically mounted on the handlebars and provide forward-facing light to illuminate the path ahead. Headlights come in various brightness levels, beam patterns, and modes, allowing you to choose the one that suits your needs the best.
Taillights
Just as headlights are crucial for illuminating the road ahead, taillights are equally important for making you visible from behind. These lights are generally mounted on the seatpost or the back of your helmet and emit a red light to alert motorists and other cyclists of your presence. Taillights are available in different intensities and modes, allowing you to choose the one that suits your visibility needs.
Wheel Lights
Wheel lights attach to the spokes of your bicycle wheels and create eye-catching visual effects. While they may not contribute to the overall illumination of the road, wheel lights significantly enhance your side visibility. These lights are particularly popular among urban cyclists looking to add an extra touch of style and visibility to their bikes.
Helmet Lights
Helmet lights are additional lights that you can mount on your helmet for increased visibility. They provide an extra level of lighting and can be particularly useful in situations where your head movements can create better awareness for other road users. Helmet lights can be used in conjunction with other bike lights to provide 360-degree visibility.
Choosing the Right Bike Lights
With numerous options available, choosing the right bike lights can seem overwhelming. Here are some key factors to consider when making your selection:
Consider Brightness
The brightness of a bike light is typically measured in lumens. The higher the lumens, the brighter the light. Consider the intensity of the light based on your riding conditions. For riding on well-lit city streets, a lower lumen range may suffice, while for rural or dimly lit areas, a higher lumen range is recommended.
Look for Multiple Modes
Having multiple lighting modes allows you to adjust your visibility depending on the circumstances. Common modes include constant, flashing, pulsating, and strobe. Constant mode provides continuous illumination, while flashing modes increase visibility by emitting intermittent light pulses. Pulsating and strobe modes create attention-grabbing patterns, enhancing your visibility even further.
Check Battery Life
Battery life is a crucial consideration, particularly if you plan on using your bike lights for extended periods. Determine how long the lights can operate continuously on a single charge or with replaceable batteries. Opting for longer battery life ensures that your lights won’t unexpectedly run out of power during your ride.
Ensure Durability and Weather Resistance
Bike lights can be exposed to various weather conditions, including rain, snow, or heat. Choosing lights that are durable and weather-resistant is essential to ensure they can withstand the elements while maintaining reliable performance. Look for lights made from high-quality materials and those with proper waterproofing or water resistance ratings.
Evaluate Mounting Options
Consider how and where you want to mount your bike lights. Handlebar mounts are the most common, providing forward-facing illumination. However, seatpost mounts and helmet mounts can enhance side and rear visibility. Some lights even come with versatile mounting options, allowing you to attach them to your clothing or backpack for added visibility.
Understanding Light Brightness
Understanding the concept of light brightness is crucial when selecting bike lights. Two common measurements used are lumens and lux:
Lumens vs. Lux
Lumens represent the total amount of light emitted by a source, while lux measures the light intensity at a specific distance. When choosing bike lights, lumens are typically used as a reference point to understand the overall brightness of the light.
Recommended Brightness for Different Settings
The recommended brightness of bike lights depends on the riding environment. For well-lit urban areas, lower lumen ranges might be sufficient. However, for rural or poorly lit surroundings, higher lumen ranges, such as 1000 lumens or more, are recommended. Additionally, a combination of front and rear lights ensures 360-degree visibility.
Directionality of Light
Consider the directionality of light when selecting bike lights. Some lights offer a focused beam, providing a longer throw and better visibility in front. Others have a broader beam spread, increasing side visibility. A combination of focused and wide-beam lights can optimize your overall visibility on the road.
Different Light Modes and Settings
Bike lights often come with various settings and modes to suit different situations. Understanding these modes will help you use your lights effectively. Here are some common light modes and their purposes:
Constant Mode
Constant mode provides continuous illumination, ensuring steady visibility. This mode is ideal for well-lit areas, where a consistent light source helps motorists and other road users see you clearly.
Flashing Mode
Flashing mode emits intermittent bursts of light to capture attention. This attention-grabbing pattern is highly effective in attracting the focus of drivers and pedestrians, enhancing your overall visibility and safety.
Pulsating Mode
Pulsating mode creates a rhythmic pattern of light pulses, further improving visibility compared to a steady light source. The pulsating light can visually indicate your presence more effectively, particularly in low-light conditions.
Strobe Mode
Strobe mode produces rapid flashes of light, making you highly visible on the road. This mode is especially useful during nighttime or in situations where you need to alert others to your presence urgently.
Battery Life and Charging
Battery life and charging options are important considerations when it comes to bike lights. Here are some key aspects to keep in mind:
Types of Batteries Used
Bike lights may use either rechargeable or replaceable batteries. Rechargeable batteries are environmentally friendly and save money in the long run but require periodic charging. Replaceable batteries, such as AA or AAA, are convenient when spare batteries are readily available, but they can create waste and ongoing expenses.
Estimating Battery Life
Battery life varies depending on the light settings and brightness levels. Manufacturers usually provide estimated battery life based on specific usage scenarios. It’s important to ensure that the estimated battery life aligns with your intended use to avoid unexpected power failure during your rides.
Rechargeable vs. Replaceable Batteries
Rechargeable batteries are a popular choice for bike lights due to their cost-effectiveness and reduced environmental impact. They can be charged via USB ports or wall outlets, providing convenience and flexibility. However, if you prefer the convenience of replaceable batteries, ensure that the light is compatible with the battery type you prefer.
Charging Options
Consider the available charging options for your bike lights. USB charging has become increasingly common, allowing you to recharge your lights using a computer, power bank, or wall adapter. Some lights even have built-in USB ports for easy charging. Make sure the charging method aligns with your needs and lifestyle.
Durability and Weather Resistance
Bike lights undergo varying conditions during rides, making durability and weather resistance important factors to consider. Here’s what to look for:
IP Rating
The IP (Ingress Protection) rating indicates the level of protection against dust and water. A higher IP rating signifies greater resistance to these elements. Look for lights with a minimum IPX4 rating, ensuring they are water-resistant against splashes and light rain.
Materials
Choose lights made from durable materials that can withstand daily use and potential impacts. Lights constructed from high-quality aluminum or ABS plastic tend to offer better durability and longevity. Additionally, look for lights with scratch-resistant lenses to maintain optimal visibility.
Vibration Resistance
Cycling often involves riding over rough terrain and encountering vibrations. Ensure that your bike lights are designed to withstand these vibrations without compromising their performance. Lights with shock-resistant features or sturdy mounting systems will help maintain consistent lighting even in bumpy conditions.
Waterproofing
Consider the level of waterproofing your lights offer. Riding in wet conditions is inevitable at times, and having lights that can withstand rain and splashes is crucial. Look for lights with effective seals and gaskets to protect against water ingress, ensuring reliable performance in all weather conditions.
Proper Mounting of Bike Lights
Proper mounting of bike lights ensures optimal visibility while riding. Depending on the type of lights you have, here are various mounting options to consider:
Handlebar Mounting
Handlebar mounting is the most common way to attach headlights and taillights. Ensure a secure and sturdy mount to prevent lights from shifting during rides. Adjustable mounting systems allow you to position the lights at the desired angle for maximum visibility.
Seatpost Mounting
For taillights, seatpost mounting is an alternative option. Similar to handlebar mounting, ensure a secure attachment to prevent lights from moving or falling off. Consider lights with quick-release mechanisms or adjustable straps to accommodate different seatpost sizes.
Helmet Mounting
To enhance side visibility or if you prefer a more versatile lighting setup, helmet mounting is a viable option. Helmet-mounted lights move along with your head, providing increased visibility in the direction you are looking. Use dedicated helmet mounts or straps to secure the lights tightly.
Clothing and Backpack Attachments
Some lights come with clips or straps that allow you to attach them to your clothing or backpack. These additional attachment options can provide extra visibility from different angles, making you even more noticeable to others on the road.
Additional Considerations
In addition to the primary bike lights, there are a few additional considerations to enhance your visibility and overall safety:
Reflectors and Visibility Accessories
While bike lights are crucial, other reflective accessories can further enhance your visibility. Consider adding reflective tape, stickers, or clothing to increase your presence during low-light conditions. Reflectors are particularly useful in urban environments where streetlights and additional light sources are readily available.
Choosing the Right Light Color
Bike lights are available in various colors, including white, red, and other vibrant hues. White lights are generally used as headlights, while red lights are commonly used as taillights. Choosing the appropriate light color ensures compatibility with local regulations and enhances your visibility to different road users.
Maintenance and Cleaning
Regular maintenance and cleaning of your bike lights are essential to keep them performing optimally. Wipe down the exterior with a damp cloth to remove dirt, dust, or residue. Check the batteries regularly and replace them as needed. Keeping your lights clean and well-maintained ensures their longevity and reliable performance.
Stolen Lights Prevention
Bike lights are a valuable accessory and can be a target for theft. Consider removable lights or lights with theft-resistant features. Removing your lights when parking your bike or using anti-theft measures, such as security cables or locked compartments, can help deter potential thieves.
Legal Requirements and Guidelines
Lastly, familiarize yourself with the local laws and regulations regarding bike lights in your area. Different regions may have specific rules regarding required light colors, brightness levels, and mounting positions. Additionally, recommended guidelines for visibility, such as using both front and rear lights and reflective accessories, can contribute to your safety. Be aware of potential penalties or fines for non-compliance and prioritize safety by adhering to these regulations.
In conclusion, bike lights are an indispensable tool for increasing visibility, preventing accidents, and ensuring legal compliance while cycling. By considering factors such as brightness, modes, battery life, durability, and mounting options, you can choose the right lights for your specific needs. Remember to understand the different light modes and settings available, estimate battery life, and account for weather resistance and mounting methods to optimize your safety on the road. With the comprehensive knowledge gained from this guide, you can confidently navigate the world of bike lights and enjoy your rides with enhanced visibility and peace of mind. Stay visible, stay safe!